Simplifying Food Regulation

FDA Reader

FDA Reader: Simplifying Food Regulation

Verification vs. Validation
Verification vs. validation.png

What You Need to Know:

Verification means conducting a review to confirm a process was performed correctly. Verification answers the question "How do you know it actually happened?"

Example: A manager in a cookie factory reviews production records to confirm that the cookies were baked to the temperature described in the recipe.

Validation refers to the requirement that a food processor use scientifically proven methods to control a hazard. Validation answers the question "How do you know it works?"

Example: A food safety manager collects scientific research to demonstrate that the cooking temperature used in the recipe is effective in eliminating harmful bacteria in the raw product.

Why Verification and Validation are Important:

Both verification and validation are required or else food-safe outcomes may not be achieved.


Validation Without Verification...

Hand washing with soap is a valid method for removing dirt/grime from hands. However, if verification does not occur and employees do not actually wash their hands, then it doesn't matter how scientifically-proven the strategy is.

Verification Without Validation...

Hand washing without soap is not a valid method for cleaning hands. Even if a manager verifies that hand washing is occurring as required, it doesn't matter because hand washing without soap is not a valid method for cleaning hands.


Verification

Verification means the application of methods, procedures, tests and other evaluations, in addition to monitoring, to determine whether a control measure or combination of control measures is or has been operating as intended and to establish the validity of the food safety plan.

21 CFR 117(c)(1)(i)

Examples of Verification

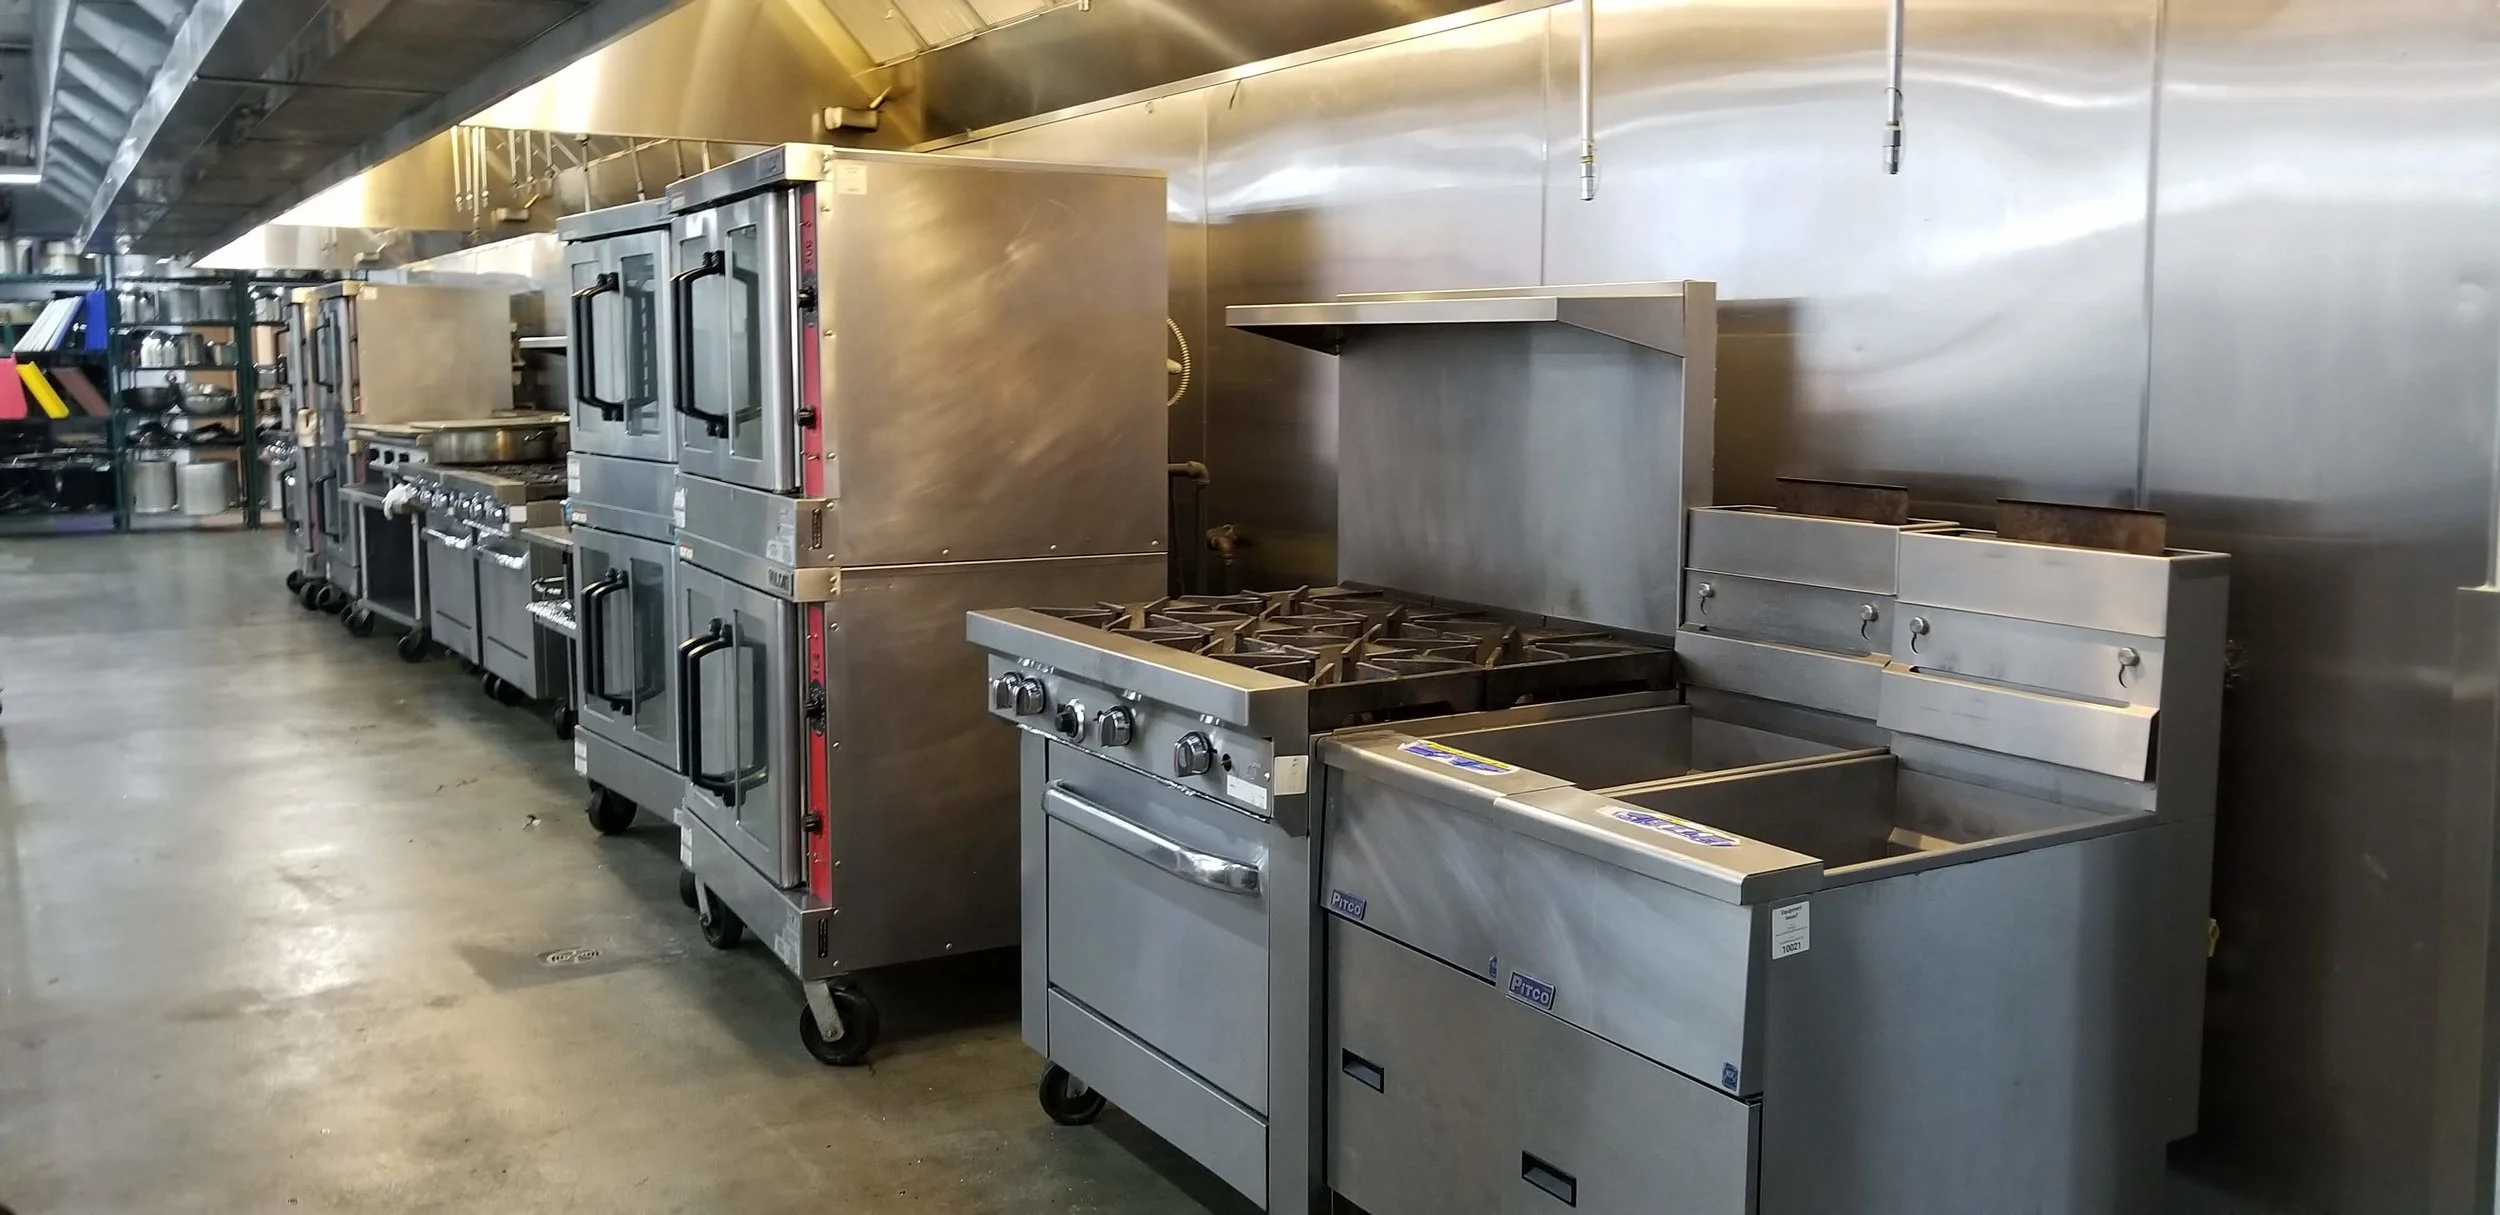
  • Reviewing cooking records to confirm the required temperature and cook time was reached

  • Reviewing refrigeration records to confirm food was held sufficiently cold

  • Observation that employees are following good food-handling practices

  • Calibrating thermometers - this verifies that they are reading properly

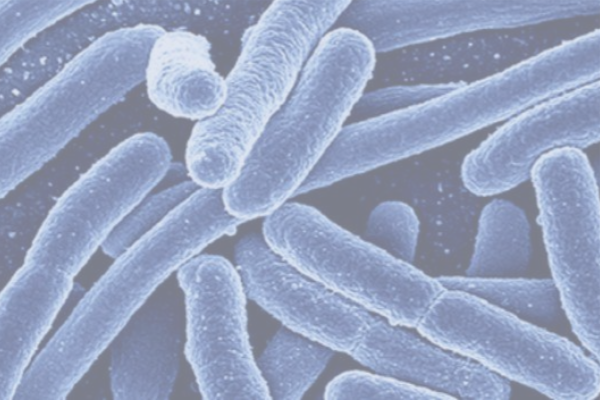
  • Sampling your own product for pathogens to verify that your process was faithfully performed

  • Environmental monitoring - testing your production space for pathogens living on surfaces, in drains, etc.

  • Supplier Verification - reviewing a supplier's records to confirm they are faithful to their food safety practices and claims.

When is Verification Required?

All records which monitor a preventive control must be verified within 7 days of their creation.

All corrective action records must be reviewed within 7 days of their creation.

Other verification records, such as instrument calibration, product testing, and environmental monitoring, must be verified "within a reasonable amount of time" as determined by the producer.

Who Conducts Verification?

All verification activities must be performed by a preventive controls qualified individual.

Examples of Verification

Verification
Example of Preventive Control Verification Required? Why? Verification Example
Cooking Chicken to a temp of 165ºF as a preventive control to reduce the hazard of Salmonella Bacteria Yes The cook step is a preventive control. Therefore, the production record containing the cook temp/time must be verified A manager reads the cook log and confirms that all chicken cooked that day was cooked to 165º
Fermentation and low pH are used as a method to prevent bacterial growth in pickled cucumbers stored at room temperature Yes Low pH is a preventive control applied to stop bacteria growth. Therefore, the pH records must be verified. A manager reviews the daily production records to confirm the pH was below the required threshold in all batches. If there is a deviation, the manger verifies that the appropriate corrective action was taken.
Preservatives are used to kill harmful bacteria in chicken meat so that it can be consumed raw Yes This is a preventive control and must be verified A manager confirms that the appropriate level of preservative was used to render the product safe. Additionally, in such a high-risk scenario, it may be advisable to test the chicken for pathogens.
Chlorine sanitizer used to sanitize dishes Possibly Depending on the nature of the product, it may not be a requirement to verify that the appropriate concentration of sanitizer was used. Manager verifies a record showing that the sanitizer was tested and the chemical concentration fell into the designated range.
Items containing peanuts are stored in different-colored containers from non-peanut products No There is no requirement to verify the implementation of storage practices to mitigate an allergen concern, although it may be a good idea. A manager may inspect storage spaces occasionally to confirm that practices are being followed to avoid allergen contact.
SOURCE: Sources

Validation:

Validation means obtaining and evaluating scientific and technical evidence that a control measure, combination of control measures, or the food safety plan as a whole, when properly implemented, is capable of effectively controlling the identified hazards.

21 CFR 117(c)(1)(i)

When is Validation Required?

You are required to validate every preventive control you are implementing. This means that if you use cooking as a means to kill bacteria, then you need to show that the time and temperature are a valid method for killing that bacteria type. This can often be achieved by referencing FDA guidance materials.

You are not required to validate the following types of preventive controls:

  • Sanitation Preventive Controls

  • Food Allergen Controls

  • Recall Plan

Who Conducts Validation?

All validation activities must be performed by a preventive controls qualified individual.

Examples of Validation

Example of Preventive Control Validation Required? Why? Validation Example
Cooking chicken to a temp of 165ºF as a preventive control to reduce the hazard of salmonella bacteria. Yes The cook step is a preventive control. While it's largely accepted that a 15 second exposure to 165ºF temps will kill salmonella, it's good to cite a source showing that this control is valid. You can simply link or reference any reputable text which states this fact. 5D reduction for Salmonella: 15 seconds at 165ºF Table A4.1, “Limiting Conditions for Pathogen Growth” FSPCA Preventive Controls for Human Food 1st Ediiton, 2016
Fermentation and low pH are used as a method to prevent bacterial growth in pickled cucumbers stored at room temperature Yes You'll need to describe exactly how you know that this combination of controls are effective in controlling specific bacterial pathogens. The validation must be specific to the hazards you are controlling. You can cite a study showing that a certain concentration of bacteria produced by the ferment is effective in limiting the growth of relevant, harmful pathogens. You might also link a source which describes the pH threshold for specific bacteria growth. For example: pH is an effective limiter for pathogenic bacteria growth in lactic acid producing fermented products if a <4.6 pH is maintained. Hazard Analysis and Risk-Based Preventive Controls for Human Food: Draft Guidance for Industry, Chapter 4 “Preventive Controls” p.27
Preservatives are used to kill harmful bacteria in chicken meat so that it can be consumed raw Yes This is a less common type of control (using preservatives to make raw chicken edible) so you would need to make a compelling case that this preservative is effective in eliminating harmful bacteria. You can state the simple facts of the study in one of two sentences and then cite the source. [cite your source]
Chlorine sanitizer used to sanitize dishes No Validation is not required for sanitation controls. In this case, it is widely accepted that chlorine is an effective sanitizer. N/A
Items containing peanuts are stored in different-colored containers from non-peanut products No Validation is not required for allergen controls N/A
SOURCE: Sources
 
Understanding E. Coli in a Food Processing Context

What is E. Coli?

The Escherichia Coli bacteria shown under a microscope

The Escherichia Coli bacteria shown under a microscope

We all know that E. coli is a threat to human health that is transmitted by food. But what foods specifically? How is it controlled and how can we protect ourselves from it as eaters and food producers?

The Basics:

Escherichia coli is a bacteria that produces a toxin called “Shiga”, that can cause food borne illness and even death.

Associated Foods:

  • Raw ground beef

  • Raw seed sprouts

  • Raw milk

  • Unpasteurized juice

  • Foods contaminated by fecal matter

Transmission: 

Human-to-Human or via contaminated food.

Incubation Period: 

Usually 3-4 days after exposure, but it can range from 1-9 days.

Symptoms:

  • None (it can be asymptomatic)

  • Diarrhea

  • Bloody Diarrhea

  • Kidney failure

Control Measures (i.e. how we stop it)

  • Cooking food to 155º for 15 seconds will kill E. coli.

  • No bare hand contact with ready-to-eat (RTE) foods

  • Strong employee health policies (i.e. no sick employees handling food)

  • Hand washing

  • Prevention of cross-contamination

  • Pasteurization or treatment of juice

The Bottom Line:

E Coli is a dangerous bacteria that can be transmitted via food and cause tremendous harm. At the same time, it’s something we can control quite easily and, if you are taking appropriate precautions, should not be something to worry about.

If you have more questions about how to control E. coli, ask in the comments section below.


What is a "Kill Step" in Food Safety?

What does a “Kill Step” or "Lethality Step" mean in Food Safety?

When I was first managing a commissary producing 10,000 meals per day, our engineer was always talking about the “kill step.” I never knew what he was talking about but I have since realized it is one of the most important steps in food safety.

Most efforts we take in food safety are related to harmful bacteria. And most efforts are related to minimizing (but not stopping) the growth of harmful bacteria.

A strategy that minimizes bacteria growth is refrigeration. Most bacteria can’t reproduce quickly in cold, but they still reproduce, albeit at a slow rate. This is the reason that perishable food doesn't last indefinitely in the fridge. Of course, without refrigeration, bacteria grows quickly at room temperature and we intuitively know this is bad (i.e.leftover chicken left out overnight).

The most important thing to remember is this: if you leave food on the counter overnight and then put it back in the fridge, it won’t kill the bacteria that grew while it was sitting out, it’ll just slow down the growth process from the moment you put it back in the fridge.

This graph should help illustrate what I mean:

Food Safety Chicken Bacteria pt 1.jpg

What's Happening in this Graph?

1. You have chicken leftovers in the fridge. There is some bacteria in the leftovers, but it is still safe to eat. You can also see that bacteria growth is slow during these periods because of the cold.

2. You accidentally leave the leftovers on the counter overnight. Eek! We can see by the steepness of the line that bacteria count is growing RAPIDLY during this time, because bacteria are happy and reproduce quickly at room temperature.

3. In the morning, you see that you left the leftovers out all night. At this point, the bacteria level is unsafe to eat, but you put them back into the fridge anyway. While this slows down the growth rate of the bacteria, there is still an unsafe amount of bacteria in the chicken. Remember the refrigeration slows down bacteria growth rates, but it does not kill existing bacteria. So why did you put it back into the fridge? (keep reading!).

Recommended Tools

If you are measuring temperatures manually then I recommend getting a thermocouple for reliable readings. I use this Cooper Atkins Thermocouple with a K-Type Probe

4. At lunch, you throw the chicken into the microwave and nuke it for 4 minutes, remembering that you left it out all night on the counter. This, my friend, is the kill step. Cooking (in this case, chicken) to 165º F doesn't slow bacteria growth, it actually kills all of the bacteria that already grew on the chicken.  At 165º only 1 in 100,000 Salmonella bacteria will survive. We call this a "Log 5" reduction because it reduces the count by 5 zeros. In effect, it "resets the clock" and reduces the bacteria count to safe levels. We see on the graph that the bacteria count plummets to almost nothing.

5. The leftovers are so goddamn hot that you went to write a blog post and forgot all about lunch for an hour. During this time, the leftovers cooled down to about room temperature, which triggered rapid bacteria growth. However, because you killed almost all of the salmonella bacteria in the leftovers, the total bacteria count remains low, despite exponential growth rates. It's still safe to eat even though it sat out at room temperature. This is fairly intuitive.

6. You remember the food and eat your (lukewarm) lunch. It tastes good and you didn't expose yourself to any food safety risk.

IMPORTANT NOTE

While cooking is an effective kill step for most harmful bacteria, it does not necessarily make food safe to eat. The kill step described above would be ineffective in eliminating entero-toxins which have already formed in the food.

When designing a kill step, it's important to first understand what hazards you are aiming to treat. This way, you can be sure that your kill-step effectively treats all hazards.


What Did We Learn?

  • Applying a ‘kill step’ drastically reduces harmful levels of pathogens in food. In the example above, reheating food in the microwave kills harmful bacteria that may have grown in the food.

  • Slow bacteria growth doesn't necessarily mean the food is safe to eat (as in step #3). Putting food with unsafe levels of bacteria in the refrigerator won't kill the pre-existing bacteria.

  • Fast bacteria growth doesn't necessarily mean food is unsafe to eat, as in Step #6. Think about your elementary school lunchbox (not refrigerated!). It's OK to have rapid bacteria growth for short amounts of time IF you're starting with a low bacteria count OR if there's a kill step after.

OK, So What is a Kill Step?

Here are some examples of "Kill Steps" used to reduce bacteria counts in food production:

  • Cooking

  • Use of chemicals: For example, using anti-microbial produce wash reduces bacteria counts in vegetables that will be served raw.

  • Pasteurization: heating something up without meaningfully changing it's composition to kill bacteria

  • Freezing: The majority of fish intended for raw consumption is frozen for a period of 7 days to kill harmful parasites. Note that freezing isn’t effective as a kill step against bacteria.

It's important to remember that different microorganisms have different tolerances for specific treatments. Another way of saying this is: what would kill a human may not kill a cockroach (and visa versa in some cases).  Freezing kills specific parasites present in raw fish, but it doesn't kill Listeria Monocytogenes, it just slows down the growth rate. Depending on the food being manufactured, multiple kill steps may be used to address different hazards in the production process.

What Happens When You Don't Use a Kill Step

Almost all food production operations use a kill step. The reason is because we don't know the preexisting microorganism counts when we receive a product in our facility. For example, we don't know whether the vegetables that we serve raw had safe or unsafe levels of E. Coli in them when they were purchased from our supplier.  Even if our process implies good food handling practices and low bacteria growth, we still may be putting our customers at risk because our supplier did not take precautions. This graph explains the risk we take on when we don't have a kill step:

Bacteria Growth with no Kill Step.jpg

It's impossible to know the level of bacteria growth in a purchased ingredient without conducting expensive lab tests. What we can do is choose reputable suppliers, take the temperature of incoming deliveries to confirm they weren't mishandled in transport, and include a kill step in our production process. By including a kill step in our process, we are not relying on our suppliers to have a 0.00% error rate.

Bacteria Growth with A Kill Step.jpg

In order to eliminate that risk, we include a kill step so we know our food is safe to deliver to customers, even if we received unsafe products from a supplier.

So What's the Kill Step in My Process?

Before you pick a kill step, you need to be aware of what specific microorganisms are found in the foods you produce. The good news is that specific types of harmful bacteria only exist in specific food groups, so if you make raspberry jam, you don't need to worry about bacteria that lives in shellfish. You can look up what types of bacteria exist in the food you produce in this FDA Training Manual on page 485-486.

Once you know what the hazards exist in your process, you can investigate what is an appropriate kill step and implement it.

Do you use a kill step in your production? Comment below

 
My $250,000 Lesson in Food Safety

I had been managing a 20k square foot food manufacturing facility for 8 days when we were inspected and shut down by the local health department.

I was terrified when the inspectors arrived. What were they looking for? What would they discover that I was unaware of? This is a fear that many restaurant owners and food producers are familiar with.

I made 3 mistakes that closed our business for 4 days and cost the company $250k, excluding lost revenue.

Mistake #1: Everything is OK Because This is How We’ve Always Done It

My predecessor had twenty years experience managing food establishments. When I took over, I trusted everything was operating according to the regulations and maintained the same standard. Employees washed their hands, wore gloves, and we had a team of porters cleaning the space every night. No report of food poisoning was ever traced back to our operations.

So everything is OK, right? [winces and pushes these concerns into the back of your mind]

Mistake #2: It Is Not Our Responsibility

The fruit flies that settled on our ceiling hadn’t come from our space. They had been living in the building-wide compost bins, which was situated outside of our space, albeit directly under our kitchen. We had fly traps in place and we had written the building 2 emails about the problem already.

Food producers tell me the same thing about their suppliers: “It’s their responsibility to make sure there is no safety risk in the chicken/flour/produce/glassware they sell us.”

Really?! Would you bet a quarter million dollars and your business’ reputation on it?

Mistake #3: Food Safety is Complicated and Something I Can Ignore Until We Get Bigger

Ugh. I am really talented at avoiding things that seem daunting. Plus, food safety regulations are really long and boring.

So I covered my eyes and ears and sang to myself at the top of my lungs. I told myself I’d fix the problems when we had more resources and when we were big enough to matter.

Have you ever told yourself any of these things?

THERE IS GOOD NEWS: you don’t need to know everything about food safety to ace 3rd party audits, and scale operations to millions of dollars in sales. In fact, most food establishments only need to control 1-3 hazards.

I will teach you to achieve food safety excellence without changing your operations, incurring huge costs, or taking up your time.

What part of food safety worries you? Post in the comments.

Digital vs. Paper Record keeping in a Food Processing Environment

I am often asked by food producers whether they should convert their record-keeping to a digital entry process. I always respond by asking them why do you want to do this?

It seems like a natural change, that adopting digital record keeping in food production is a natural transition as an operation matures.  Actually, digital logs aren’t always better than paper logs.

I implemented a fleet of iPads and digital logs in my own commissary, only to return to pen-and-paper record keeping when I struggled with accountability and completeness.

record keeping paper or digital Blog Post Thumbnail (1).png

Digital Logs:

Pros

  • Can be accessed via tablet in the production space.

  • Updates can be rolled out seamlessly (i.e. sent to the iPad remotely).

  • Past records are accessible anywhere: simply print out a copy.

Cons

  • Technology inevitably gets complicated. iPads must be charged, housed, sterilized, and updated.

  • Missing entries are more difficult to see when records are housed digitally

  • They are easy to fabricate

  • Requires a substantial setup and training to implement

  • Often requires proprietary or expensive software

  • Expensive hardware


Paper Logs:

Pros:

  • They’re stupid simple.

  • They are harder to fabricate and missing entries are easy to spot

  • Simple technology means zero training

  • They are cheap to implement (printer access + clipboards + pencils)

Cons:

  • Paper records can get lost and are lost forever.

  • They require manual updating: printing new sheets and setting them around the production facility.

  • Requires a paper filing system for storage.

So Where Should I start?

Here’s my advice: start with paper logs. They’re easy to implement and will get you into the habit of record keeping. You will probably change the format of your record keeping materials a lot in the beginning: paper will support this. Once you get comfortable with this and missing entries ease to become a problem, you may consider transferring to digital.

The real benefits of digital record keeping goes beyond eliminating paper copies: seamless integration of technology (bluetooth thermometers! WIFI enabled scales!) will bring an unprecedented level of professionalism and ease to your production process. But to start, I recommend keeping it as simple as possible: pencil and paper.


3 Reasons You Should Conduct Supplier Visits

Supplier visits are a wonderful thing to procrastinate on if you’re a food manufacturer or restaurant owner. There’s barely enough time to get through your own production, so why lose a day to go visit one of your suppliers? Here are 3 reasons your business will benefit from a field trip upstream:

  1. Your customers care about product quality

  2. You are legally compelled to conduct supplier visits

  3. You will learn how to improve your business


1.  Your Customers Care About Product Quality

Your customers demand the highest quality products from you. This means consistency of product, zero risk of food borne illness, and a product that tastes perfect every time. As a food producer, your sole focus is to get an "A+" on this every single day in your own facility. But can you guarantee the same of each of your suppliers?

Here is a simple and yet difficult truth to swallow: when you take custody of purchased ingredients/packaging/goods, you are responsible for them. For example, if you produce chocolate bars and your customers gets sick because of salmonella-infected sugar that was mishandled by your supplier (not you!) then your product will be recalled. Perhaps theirs will too, but that hardly matters when your production is halted and your brand reputation is at stake.

Here is a less extreme example: a supplier visit might show you that one of your suppliers is taking risks that you don't feel comfortable with. Whether it's a less-than-clean facility or lax attitudes about food safety basics, this may open a conversation with them about raising their food safety standards or losing your business.

2.  You Are Legally Compelled to Conduct Supplier Visits

Ahh, the Food Safety and Modernization Act (FSMA). All food manufacturers except exempt facilities (i.e. small timers and very low risk operations) must have a Supplier Verification Plan. In short, you have to prove that you are doing your due diligence when it comes to vetting your suppliers, beyond picking the vendor with the lowest prices.

Fortunatelythe standard for "Supplier Verification" plans is fairly low from a regulatory standpoint because FSMA is new and everyone is still catching up. It doesn't necessarily require supplier visits, but this is actually one of the easiest ways to comply with FSMA without having to write out long, complicated food safety documents. Just visit the supplier and record that you conducted a visit, who you visited, and when.


3.  You Will Learn How to Improve Your Business

Supplier visits are a great way to learn about how to improve your operations. Chances are that your supplier is a more advanced operation than yours and that they've solved a lot of the problems that you haven't solved yet.

When I was managing a commissary, I visited one of our suppliers with the expectation of learning very little. I was completely wrong. Even though their product was completely different from ours: (them: raw chopped vegetables, us: gourmet hot meals) I saw what my facility was going to look like when we scaled 10x.

The quality assurance manager toured me around the facility and answered every question I had. It was an hour of free consulting that my company would have paid thousands of dollars for. He also sent me home with a flash-drive of  documentation and their recent audit results that I used to cut costs in my own operation and prepare for our next inspection.

Every business wants to increase their output by 10x but very few of us truly understand what that looks like. How many hires does that require? How will the layout of your facility change? Visiting your suppliers will show you what's happening in the big leagues and illuminate the path to getting there.

How to Conduct a Supplier Visit

  1. Get in touch with your contact and ask if there's a time that works for you to come by and visit. Your suppliers will be very familiar with this request and probably have a process in place.

  2. Show up on time and be respectful of their time. Remember, someone is taking time from their production role to tour you around, so be considerate and thankful.

  3. Be a sponge

    • Ask if you can take photos. If so, photograph anything and everything. You may not think much of their eyewash stations now, but you'll be happy to revisit photos of theirs when it comes time to install your own.

    • Take notes. First, confirm it's OK to bring your note-taking apparatus into the facility. If so, scribble like your memory is fading. Otherwise, you'll forget all of it.

    • Ask questions. The goal here is twofold: First, it's a great way to learn about how to improve your own operations. Second, it's a great insight into their food safety awareness and culture.

    • Ask for documents. Request their food safety plan, audit results, log entries, everything. This isn't an unreasonable request: it's part of your due diligence. They'll probably only give you some of it, but this is priceless. Wouldn't it be helpful to have the scoresheet used by the auditor that's going to decide whether your product should be allowed on Whole Foods shelves? Bring a flash drive so you can accept digital copies.

  4. Act on your findings. If you are aware that your supplier is creating a food safety hazard and you pass that risk along to your customer without doing anything about it (i.e. changing suppliers) you could go to jail. Yeah.

  5. Send a thank you note. Anyone in the business long enough knows that supplier relationships are critical. A simple 3 sentence email will suffice and you'll be happy to have the contact.

As busy as you undoubtedly are with your own business, supplier visits are a critical part of your commitment to food safety. If nothing else, the field trip will show you how to host visitors in your own facility because it's only a matter of time before someone wants to walk through your space and see your records. Are you ready?

Have you conducted a supplier visit? Whats' the most surprising thing you saw? Let us know in the comments section below.


This Article is For You if…

∆ You purchase ingredients or packaging from another company


More about Supplier Verification


More Posts